Showing posts with label Keuka Lake. Show all posts

Wednesday, November 30, 2011

Pumpkin


After making various other fall flavors, I had to make some pumpkin and complete the Keuka Lake Duo. Pumpkins are one of my favorite things about fall- they are orange, you can make pie out of 'em, you can carve 'em, and brewery's make beer with 'em! What is not to love?! Oh yea, and did I mention that they roughly resemble the color of John Boehner's face after one of his tanning sessions?

Ingredients
Nutritional Info
Serving Size 1/2 cup
Servings 8
Calories 366
Fat 23g
 Sat Fat 15g
Carbs 19g
Sugar 8g
Protein 2.4g
Makes 1 quart
  • 2 cups heavy cream 
  • 6 egg yolks 
  • 2/3 cup sugar 
  • 1/2 cup light corn syrup 
  • 1 tsp. ground ginger 
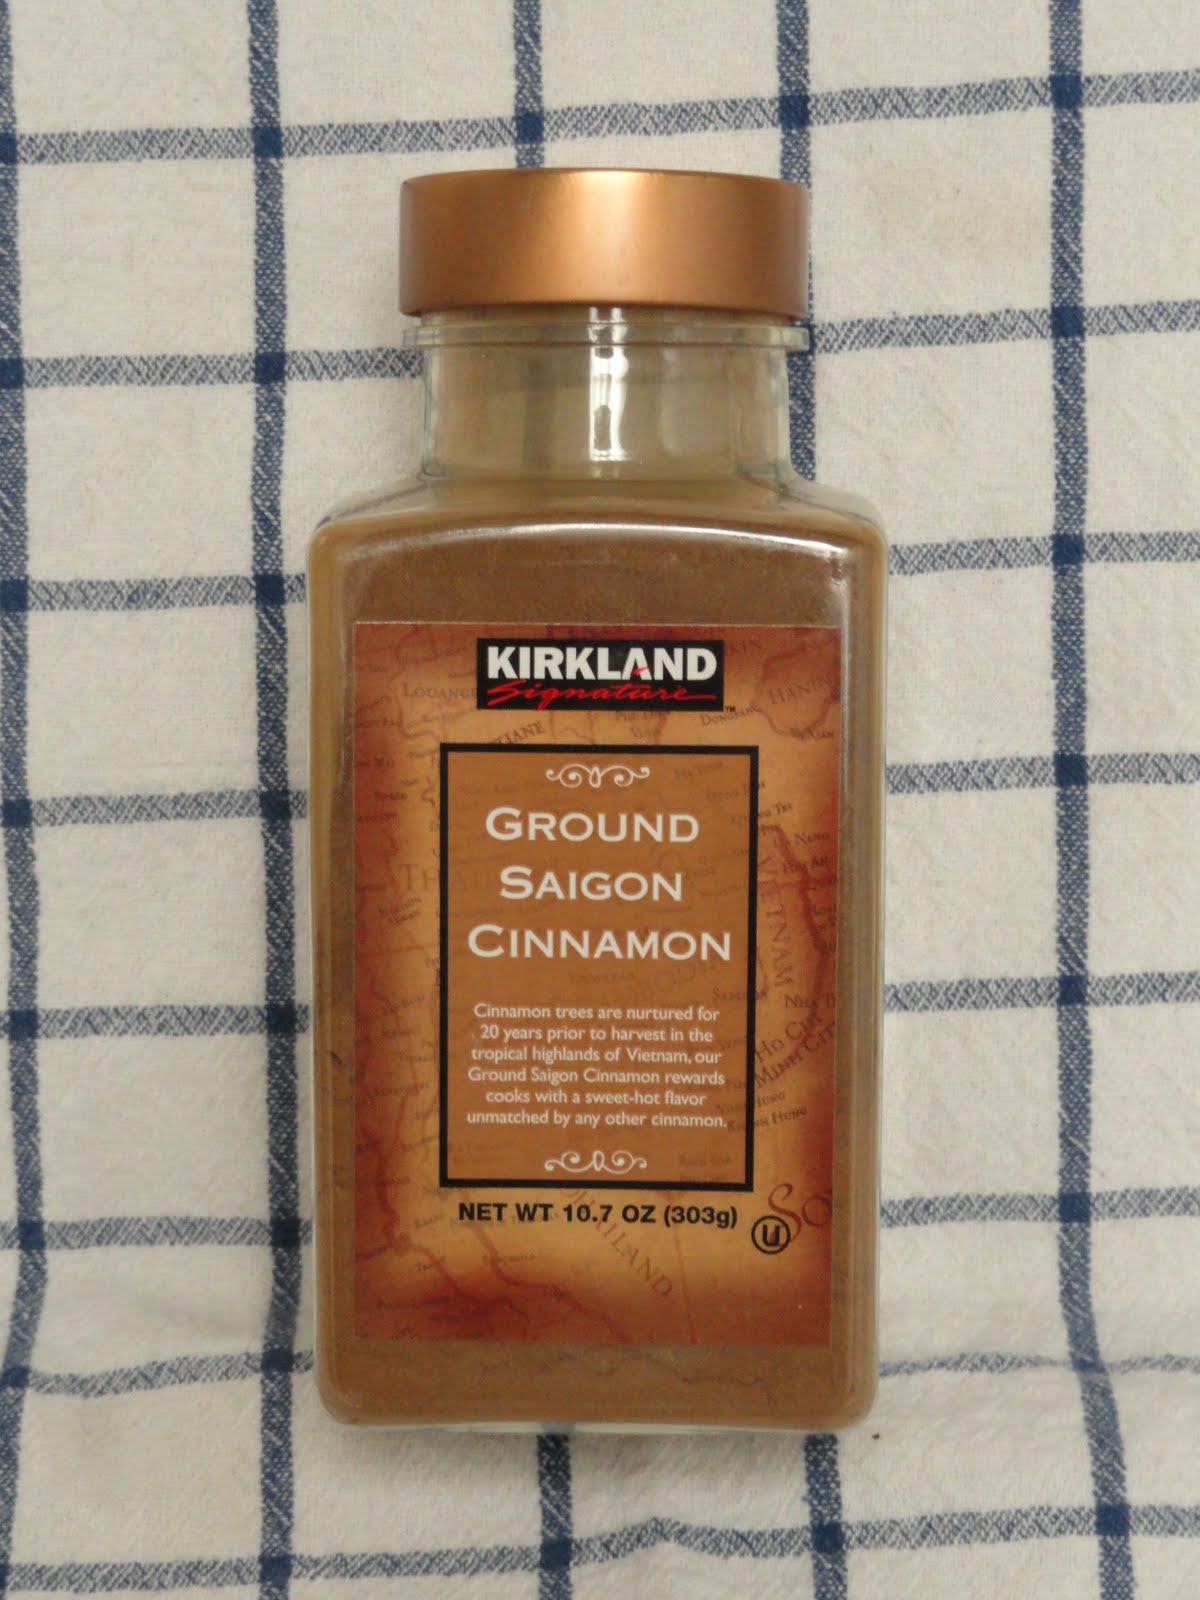
  • 1/2 tsp. ground cinnamon 
  • 1/4 tsp. freshly grated nutmeg 
  • 2/3 cup puréed cooked pumpkin 
  • 1 tsp. vanilla extract 
*Nutritional Info from:
Livestrong.com/myplate
Modified from, Saveur  

Equipment
  • 3qt pot & metal mixing bowl or double boiler 
  • Saute pan 
  • Sieve/ mesh strainer 
  • Spice grater 
  • Measuring Cups 
  • Measuring Spoons 
  • Whisk

In a medium metal bowl, whisk together the egg yolks, sugar, corn syrup, ground ginger, cinnamon, and nutmeg. It won't be the most appealing looking thing but it gets better.

Heat 1 and 1/3 cups of cream over a double boiler. In a double boiler it can be tough to bring the cream to a simmer- you'll know its ready when you can smell the cream.

Once the cream has come up to temperature, pour 1/4 cup of it into the egg mixture, whisking while you pour (easier said than done). If you have a sous chef nearby, have them hold the bowl so it does not move. Once the cream and eggs have been thoroughly mixed, pour the contents of the bowl back into the double boiler. Whisk the contents of the double boiler until it begins to thicken. You'll know its ready when it coats the back of a spoon.

After the mixture has come up to the desired consistency, pour the contents into a bowl containing the remaining cream, vanilla extract, and pumpkin pie filling. Whisk ingredients together and place into an ice bath. (If it is nice and cold outside, you can cover the bowl and let it cool down in the fall air).

2 hours later, give or take, the custard will be ready for the ice cream machine. Mine took about 20 minutes.

I found that the ice cream freezes firm but scoopable (yes, that's a new word, take note OED). If you love pumpkin pie, this will be right up your alley- hell you could even throw a scoop on top of a piece of the pie and pumpkin yourself out! Of course you can do one scoop of both the pumpkin and cinnamon and really indulge yourself. The ice cream has just a hint of texture that reminds you there really is pumpkin in it, not just flavoring and spices. One friend enjoyed it so much, that he just about started to eat the ice cream right out of the container.

Coming up next are Hup Floats, perfect for cyclocross season. Hat tip C'Mac for the name.


Thursday, October 27, 2011

Inspiration from Keuka Lake

I've always thought it was rather strange that cinnamon came from the bark of a plant.  Who came across what scientists call Cinnamomum Verum and said, "man, I bet if you pull the bark off of that tree, dry it, and grind it into a fine powder, it would really kick this dish up a notch!"? Whomever did it, hats off to you. Not only did you find one of the most desired spices during the spice trading days of the 16th and 17th century, you enabled us mere mortals to have luxuries such as cinnamon buns, apple pie, and cinnamon ice cream!

My inspiration for cinnamon ice cream came from Seneca Farms in Penn Yan, NY, just a short 20 minute drive from my Alma mater Hobart College. This unassuming restaurant is just a few blocks off of Keuka Lake and is known for its fried chicken, home made fritters, impressive Coca-Cola bottle collection, and incredible selection of frozen custard. Each fall they make a pumpkin and cinnamon frozen custard swirl that was so big, it would take the entire 20 minute drive back just to eat it all.  While the ability of the, lets call them a custard barista, was impressive enough, the contrasting textures between the soft, smooth cinnamon and the firmer, rich taste of the pumpkin made this a cone worth savoring.

The first batch of cinnamon ice cream was made just a few weeks ago along with pumpkin in an effort to save myself a five and a half hour drive to the Finger Lakes for a cone. I dug around quite a bit online in a search of a recipe that I thought would match the taste and texture of the ice cream that I remembered so well.  After some digging, I went with a recipe that kept the ingredient list simple and was similar to those found in the Ben & Jerry's Homemade Ice Cream & Dessert Book.

INGREDIENTS
Large container of cinnamon from Costco ~$6
  • 1 cup white sugar
  • 2 cups heavy cream
  • 2 eggs, beaten
  • 3/4 cup half n' half
  • 1/4 cup (or a long splash) 2% milk
  • 1 teaspoon vanilla extract
  • 2 teaspoons ground cinnamon 
  1. In a saucepan over medium-low heat, stir together the sugar and heavy cream. When the mixture begins to simmer, remove from heat, and whisk half of the mixture into the eggs. Whisk quickly so that the eggs do not scramble. Pour the egg mixture back into the saucepan, and stir in the half n' half and milk. Continue cooking over medium-low heat, stirring constantly, until the mixture is thick enough to coat the back of a metal spoon. Remove from heat, and whisk in vanilla and cinnamon. 
  2. Pour mixture into bowl that has been placed in an ice bath. Once the mixture has stopped steaming, place in fridge for 2 hours.
  3. Pour cooled mixture into an ice cream maker, and freeze according to the manufacturer's instructions.  
Modified from AllRecipies.com


Two small scoops of cinnamon

After a few hours in the freezer and a couple of 'quality assurance' taste tests along the way, the ice cream firmed up and had a perfect frozen custard consistency. This means that it was easy to scoop with a tablespoon and like meringue, could be roughly formed into peaks (melting ones that is). Even after a night in the freezer, it did not become overly hard like store-bought varieties tend to do. As for the taste, it was not overpowering but just right, like a homemade snickerdoodle cookie.

Monday morning, I found myself reaching into the freezer for a quick spoonful before heading into work; an amuse-bouche for the day if you will. I think every day needs to start out that way...