Tuesday, December 20, 2011

Peppermint


Growing up, the holiday season did not begin until a healthy supply of Bobs' candy canes were acquired and the Christmas tree could be smelled throughout the house. But, now that I am living in an apartment, I do not have the conveniences of a mother to furnish the house with Christmas decorations and treats. This leaves me baking my own cookies, drinking bourbon/ eggnog (not a childhood tradition), checking out Creepy Santa Photos for the latest updates, watching Christmas Vacation, and making ice cream!

Thinking back to peppermint ice creams I ate growing up, there were always morsels of 'melted' peppermint candies in the ice cream. You know, the spoonful that you would get and find gooey pepperminty red streaks throughout? One of my goals when making the ice cream was to have these nuggets of flavor in every spoonful and that they would provide a little bit of crunch when you bit into it. Unlike the mint chocolate chip ice cream that you will find in the store, I did not want mine to have too much mint in the ice cream itself. Rather, I wanted the ground up mints to be the primary source of minty-ness.

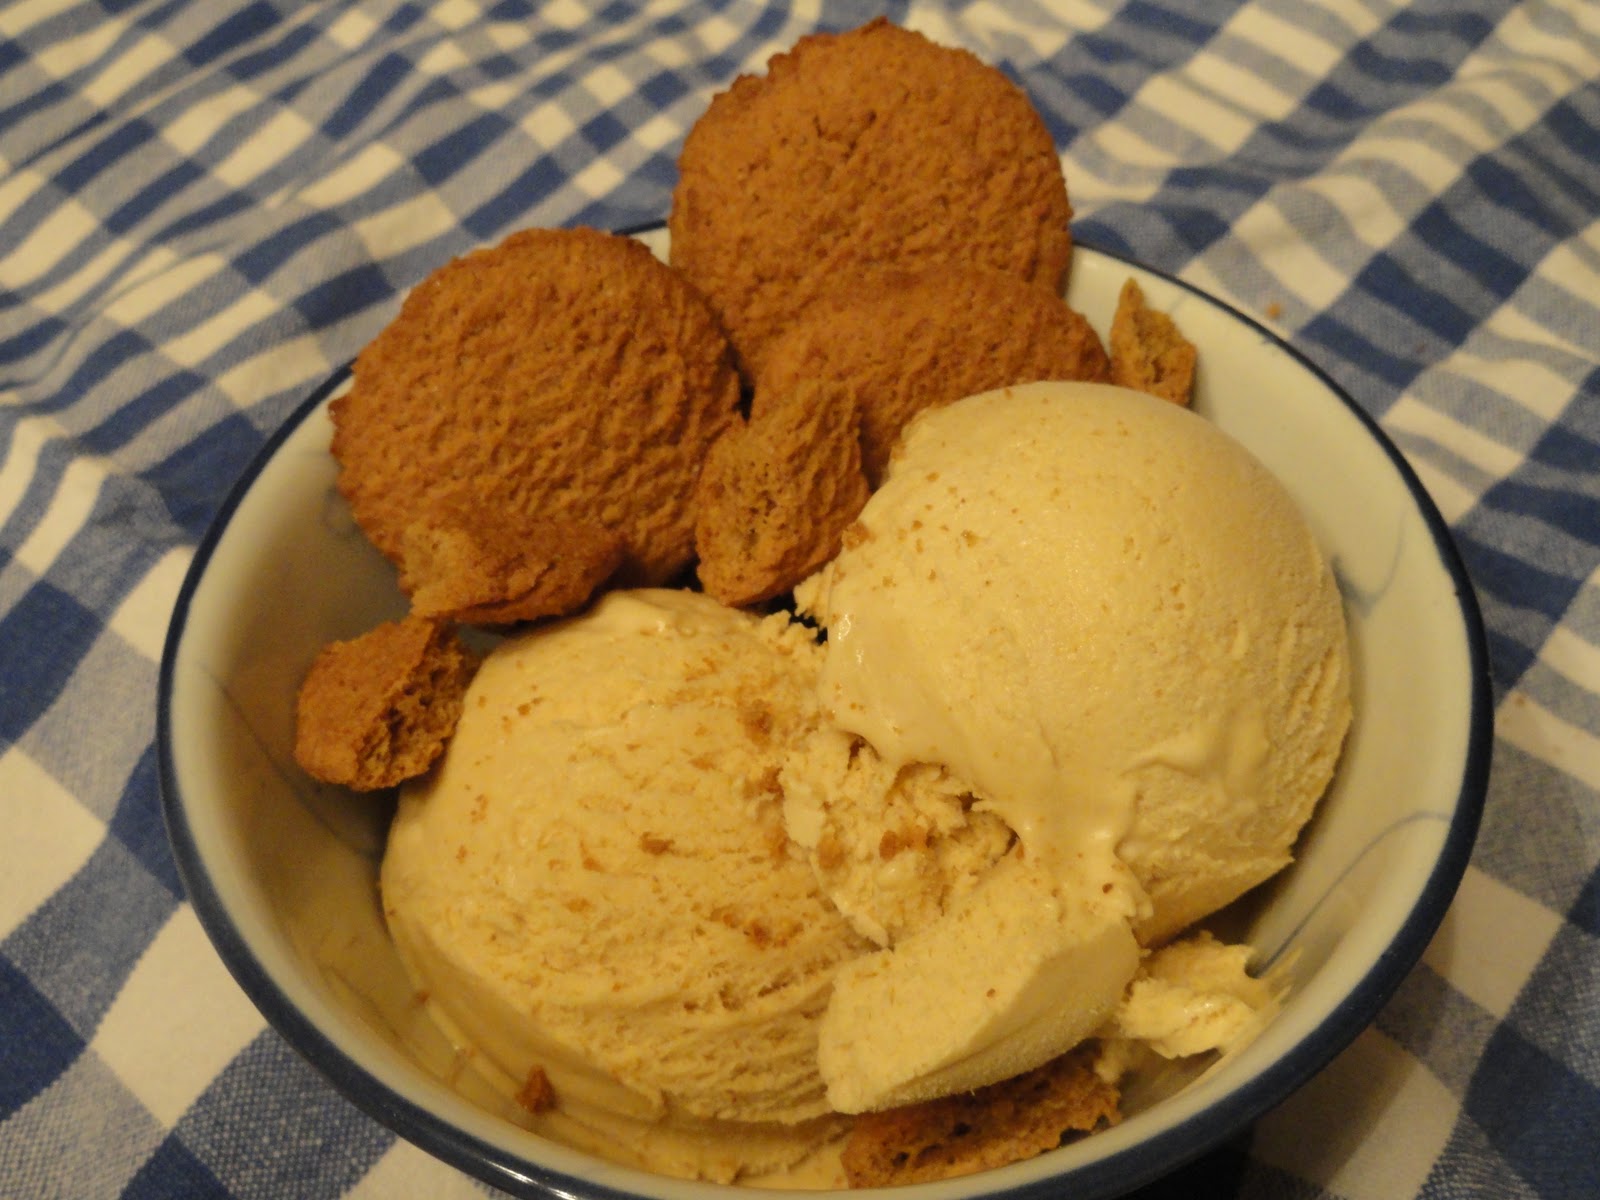
The resulting ice cream came fairly close to my expectations of having the right amount of minty flavor contrasting with the vanilla cream base. However, and perhaps this was due to me wanting to use my food processor more often, the chunks of peppermint were either very very small or the size of half a mint. Looking back, I probably should have used either a rolling pin or a meat tenderizer to keep the mints from becoming dust.  In the end, I garnished the ice cream with some crushed mint and a large mint Christmas tree (instructions for this below).


Ingredients
Nutritional Info
Serving Size 1/2 cup
Servings 8
Calories 420
Fat 26g
 Sat Fat 17g
Carbs 19g
Sugar 29g
Protien 3g
  • 2 cups heavy cream
  • 1 cup half n' half
  • 3/4 cup sugar
  • 5 egg yolks
  • 1 tsp vanilla extract
  • 1 tsp peppermint extract
  • 1/2 - 2/3 cup ground peppermint candies 
Equipment
  • Double boiler (1 inch of water in the bottom)
  • Mixing bowl*Nutritional Info from:
    Livestrong.com/myplate
  • Food Processor or Rolling Pin
  • Sieve/ mesh strainer 
  • Measuring Cups 
  • Measuring Spoons 
  • Whisk


Crack 5 eggs, separating the yolks from the whites and place the yolks into a medium sized bowl.  You can save the egg whites to use later in other recipes. For some ideas on what to do with them, check out David Lebovitz's blog here. Whisk the yolks so that they are well blended.

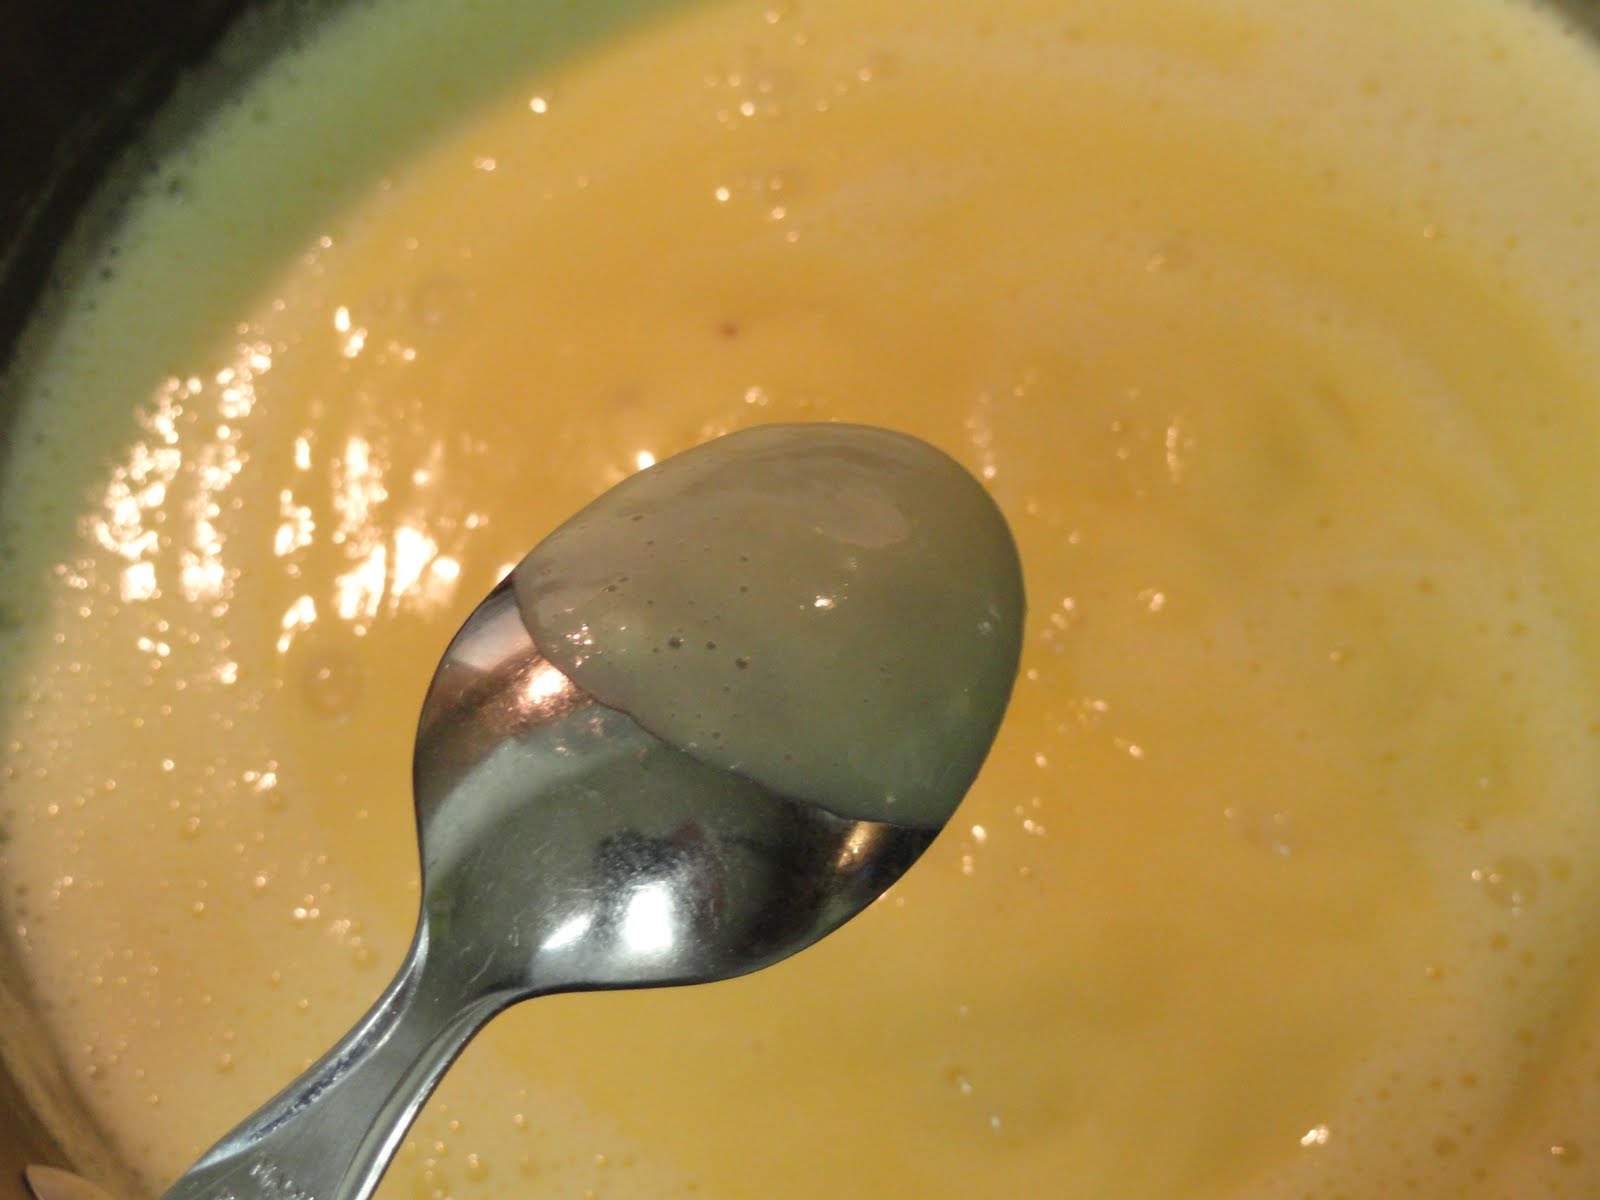
Heat 2 cups of cream and 3/4 cups of sugar over a double boiler. Once the milk and sugar mixture begins to steam slowly pour a third to a half of it into the egg yolks, whisking as you pour.

Once thoroughly blended, pour the egg yolk/ cream back into the double boiler and whisk. Pour in 1 teaspoon of vanilla extract and 1 teaspoon of peppermint extract and whisk.
Before pulverization
Let the mixture chill thoroughly before pouring it into your ice cream machine, I covered mine and put it on my balcony. While waiting for the mixture to chill, unwrap 1/2 to 2/3 cup of peppermints (I counted around 25ish). At this point you can either put them in a food processor or, place them in a plastic bag to break with a rolling pin. If you are using the food processor, do not remove the lid immediately as the 'dust' needs to settle. Alternatively, you can open the lid right afterwards and accidentally inhale a huge cloud of peppermint and cough up a lung- your choice (written based on experience)!
Freeze according to manufacturer instructions. As the ice cream firms up in the machine, pour the crushed peppermints into the bowl.

Garnish with melted peppermint Christmas trees, candy canes, gingerbread men, etc.

Preheat the oven to to 300 degrees Fahrenheit. Place a Silpat on a cookie sheet along with a variety of metal cookie cutters. Place unwrapped peppermint candies into the cookie cutters, filling extra space with broken mints. Bake for 3-5 minutes until the peppermints have melted together. Remove from oven and let cool until firm. Once cooled, the candies should easily pop out of the cookie cutters.


Sunday, December 11, 2011

Pumpkin Beer Floats (aka Hup Floats)

A few weeks ago, in what has turned into my non-existent cyclocross season, a friend had an idea to make beer floats to hand out at cyclocross races (hat-tip Chris!). For those of you that are saying 'what the hell is cyclocross?!', watch the video below and become enlightened. To paraphrase Rapha (yes, I am using a clothing/ lifestyle company to quote history), cyclocross was created in the greater Benelux region as a way for cyclists to stay in shape over the winter months and enhance their bike handling skills. Cross racing can be summarized in a couple of words, mud, cold weather, and beer.


So, in the spirit of 'cross season, going with a seasonal beer was a must. Tons of companies put out fall beers but I needed one that could blend well with sweet ingredients. Thinking of various fall beers Sam Adams Octoberfest, Smuttynose Pumpkin Ale, Dogfish Head Punkin Ale, and Saranac Pumpkin Ale all came to mind. After some digging, I found that Saranac was discontinued, which was a real disappointment- last years batch was probably one of my favorites. Continuing through the list, I had a tough time thinking that Sam Adams would be good with ice cream so I was left with Smuttynose and Dogfish Head. So, after pulling together a choice group of cyclists; taste testing ensued. Smuttynose along with the ice cream came across a tad bitter/sour tasting- a far departure from the deliciousness of the beer by itself. Next came the Dogfish Head Punkin Ale which we thought was the best match. Initially, before the ice cream started to melt into the beer, we found that having a spoonful of ice cream with a swig of beer was not that awesome. It didn't blend well and had a mouth feel similar to Mentos and Diet Coke. But, like a root beer float, once the ice cream melted and thoroughly mixed in, it was glorious!

The winner!
Directions
1 to 1 1/2 scoops of pumpkin ice cream
1 bottle of Dogfish Head Punkin Ale

Pour the beer into a pint glass and add ice cream. Let it sit for a minute or two (this will be a test of your patience) and then enjoy! You'll know it's ready when the beer becomes opaque.


Thursday, December 1, 2011

Oh Snap!


This past weekend I took a tour of High Road Craft Ice Cream & Sorbet in Atlanta while in town for Thanksgiving. I discovered these guys a few months back while at South City Kitchen where my table split bowls of Maple Bacon and Cherry Vanilla- after that, I was hooked. They make some really cool flavors such as Bourbon Burnt Sugar, Port Pear Pecan, and I even saw a Black Truffle ice cream on the list. At the factory store, they sell a regular selection of pints, daily creations, and even fleur de sel sprinkled chocolate covered ice cream bars- those things rocked by the way! After the tour, Chef Keith answered a pile of questions I had for him about creating ice creams and sorbets which has since helped tremendously. Inspired by the tour, I went back to my folks house in search of an original ice cream flavor whose recipe I could create myself. What I came up with was Gingersnap!

I don't know about you but I can put the hurt to a box of gingersnap cookies. They are sugary, have some of that rich molasses flavor, and a good amount of zing from the ginger. Not only do they taste amazing, but they don't make you feel like you are eating a stick of butter when you eat them (not that there is anything wrong with that). When you take a bite of the ice cream (does that even make sense? It's not on a cone) you instantly taste the molasses and I found myself wanting to savor the flavor (not to be confused with a flavor saver). Slowly but surely, just like the cookie, you get a taste of the ginger. Not so fast that you think you are eating ginger ice cream but after the molasses and cinnamon have sunken into your taste buds. The consistency as you can see is soft but could easily hold up on a cone.


Ingredients
Nutritional Info
Serving Size 1/2 cup
Servings 8
Calories 300
Fat 23g
 Sat Fat 15g
Carbs 7g
Sugar 6g
Protien 2.5g
  • 2 cups heavy cream
  • 1 cup milk (I used 2%)
  • 2/3 cup sugar
  • 2 tbs molasses
  • 4 egg yolks
  • 2 tsp ground ginger
  • 1/4 tsp ground cinnamon
  • 1/4 tsp whole clove
  • Box or bag of gingersnap cookies
*Nutritional Info from:
Livestrong.com/myplate
Equipment
  • Double boiler (1 inch of water in the bottom)
  • Mixing bowl
  • Sieve/ mesh strainer 
  • Measuring Cups 
  • Measuring Spoons 
  • Whisk

Start by heating the cream over a double boiler. Once it begins to lightly steam, it will be time to add in the egg yolk mixture.

As the cream begins to steam, it is time to mix it with the egg yolks, molasses, sugar, ginger, cinnamon, and clove.


Pour about 1/3 of the heated cream into the egg yolk mixture. Whisk as you pour so as not to curdle the eggs.

Pour the cream and egg mixture back into the double boiler along with the cup of milk. Slowly heat the mixture until it coats the back of a spoon and transfer to a medium sized bowl to chill. Once thoroughly chilled, pour mixture into ice cream machine and churn to manufacturer instructions. Mine took about 20 minutes.


Wednesday, November 30, 2011

Pumpkin


After making various other fall flavors, I had to make some pumpkin and complete the Keuka Lake Duo. Pumpkins are one of my favorite things about fall- they are orange, you can make pie out of 'em, you can carve 'em, and brewery's make beer with 'em! What is not to love?! Oh yea, and did I mention that they roughly resemble the color of John Boehner's face after one of his tanning sessions?

Ingredients
Nutritional Info
Serving Size 1/2 cup
Servings 8
Calories 366
Fat 23g
 Sat Fat 15g
Carbs 19g
Sugar 8g
Protein 2.4g
Makes 1 quart
  • 2 cups heavy cream 
  • 6 egg yolks 
  • 2/3 cup sugar 
  • 1/2 cup light corn syrup 
  • 1 tsp. ground ginger 
  • 1/2 tsp. ground cinnamon 
  • 1/4 tsp. freshly grated nutmeg 
  • 2/3 cup puréed cooked pumpkin 
  • 1 tsp. vanilla extract 
*Nutritional Info from:
Livestrong.com/myplate
Modified from, Saveur  

Equipment
  • 3qt pot & metal mixing bowl or double boiler 
  • Saute pan 
  • Sieve/ mesh strainer 
  • Spice grater 
  • Measuring Cups 
  • Measuring Spoons 
  • Whisk

In a medium metal bowl, whisk together the egg yolks, sugar, corn syrup, ground ginger, cinnamon, and nutmeg. It won't be the most appealing looking thing but it gets better.

Heat 1 and 1/3 cups of cream over a double boiler. In a double boiler it can be tough to bring the cream to a simmer- you'll know its ready when you can smell the cream.

Once the cream has come up to temperature, pour 1/4 cup of it into the egg mixture, whisking while you pour (easier said than done). If you have a sous chef nearby, have them hold the bowl so it does not move. Once the cream and eggs have been thoroughly mixed, pour the contents of the bowl back into the double boiler. Whisk the contents of the double boiler until it begins to thicken. You'll know its ready when it coats the back of a spoon.

After the mixture has come up to the desired consistency, pour the contents into a bowl containing the remaining cream, vanilla extract, and pumpkin pie filling. Whisk ingredients together and place into an ice bath. (If it is nice and cold outside, you can cover the bowl and let it cool down in the fall air).

2 hours later, give or take, the custard will be ready for the ice cream machine. Mine took about 20 minutes.

I found that the ice cream freezes firm but scoopable (yes, that's a new word, take note OED). If you love pumpkin pie, this will be right up your alley- hell you could even throw a scoop on top of a piece of the pie and pumpkin yourself out! Of course you can do one scoop of both the pumpkin and cinnamon and really indulge yourself. The ice cream has just a hint of texture that reminds you there really is pumpkin in it, not just flavoring and spices. One friend enjoyed it so much, that he just about started to eat the ice cream right out of the container.

Coming up next are Hup Floats, perfect for cyclocross season. Hat tip C'Mac for the name.


Sunday, November 13, 2011

A Bold Look at Coffee Ice Cream

Ok, so not the best post title ever but what else was I going to do? A Speculative Look at Sumatra? Java, a Judicious Review? There are so many varieties of coffee on the market, different roasts, bean varietals, grinds, preparation methods that it makes for an interesting ingredient to play with when making ice cream. Is there a distinct difference between an ice cream made with Starbucks Via and say one made with a concentrate using fresh ground sumatra beans? What about preparation methods? Let the coffee grinds/beans steep in cream overnight? Filter the grinds or leave them in the finished product? So many questions and hopefully just as many answers.

Over the next few weeks I'll be trying out a number of different coffee recipes- some with grinds, some without; some with fresh ground coffee, some with instant coffee. You name it, I'll give it a shot!

Ingredients
Nutritional Info
Serving Size 1/2 cup
Servings 8
Calories 200
Fat 10g
 Sat Fat 5g
Carbs 22g
Sugar 22g
  • 2 cups half n' half
  • 1 cup milk (2% or whole)
  • 3/4 cup sugar
  • 5 egg yolks
  • 2 packets of Starbucks® Via Bold
Equipment
  • Medium sauce pan
  • Mixing bowl
  • Sieve/ mesh strainer 
  • Measuring Cups 
  • Measuring Spoons 
  • Whisk
Start by pouring two packets of Starbucks® Via into a bowl along with 5 egg yolks and the sugar. Its not going to look that appealing but it will get better.

Pour one cup of half n' half and one cup of milk into the sauce pan, bring to a light simmer. Once the milk and cream have begun to simmer, pour half of the pans contents into the bowl containing eggs, sugar, and coffee. Whisk as you pour so that the eggs to not cook.
Pour the contents of the mixing bowl back into the sauce pan along with the remaining 1 cup of half n' half. Whisk it all together and bring back up to a simmer.

Once the custard mixture thickly coats the back of a spoon, remove from heat and pour through a mesh sieve into a fresh mixing bowl.
Much like the Apple Cider Sorbet, it is very important to use a sieve. In my case, I overcooked the custard so it was a bit clumpy. After letting the custard chill in an ice bath for about two hours, it was ready for the machine. Mine took about 20 minutes in the ice cream machine and came out to a firm consistency.

In the end, I thought the Via® ice cream came out with a firm but yet smooth consistency. That may seem contradictory but it's not. The finished product froze to a consistency that would hold up well on a waffle cone and not melt all over the place. Most all of the grounds dissolved into the milk and cream but left just a bit of texture, almost like drinking a cup of coffee from a french press. The flavor was rich, tasting of a strong latte- the kind that makes you happy to be up early in the morning. Looking at other recipes coming up, I'm interested to see how the textures and taste profiles compare. Perhaps a Kenyan AA coffee will be next? It's sweet, fruity, maybe could even be a sorbet!?


Wednesday, November 2, 2011

Apple Cider Sorbet Take 2

Last week I made apple cider sorbet and came up with so-so results.  It wasn't the taste that was bad but the consistency. The first sorbet came out icy and hard to scoop. Getting it into a bowl was next to impossible because it would freeze to the scoop. Now this might be because I have yet to buy a Zeroll Aluminum Scoopwith anti-freeze in the handle but a regular scoop should do just fine right?! Anyways, back to the actual topic, the updated recipe.

Ingredients
Nutritional Info
Serving Size 1/2 cup
Servings 10
Calories 112
Fat 0g
 Sat Fat 0g
Carbs 28g
Sugar 26g
  • 6 cups apple cider
  • a 3-inch cinnamon stick
  • 1/2 cup sugar
  • 2tbs light corn syrup 
Follow the same directions as the first sorbet, mixing in the corn syrup at the same time as the sugar.

Results
I was expecting a smoother sorbet as a result of adding corn syrup. While it was not a lot of corn syrup, only 2 tablespoons, it definitely made a difference. The resulting product came out a bit more dense but also much closer to a texture that you would find at a traditional ice cream parlor. As you can see, it was easier to scoop and even looks better. Going forward I'll be using corn syrup or a derivation thereof for sorbets. Ideas are welcome!


Tuesday, November 1, 2011

Nutmeg

Nutmeg isn't a spice that cook with all of the time. Yes, it's on the self-service bar at Starbucks, in pumpkin pie, and sweet potato casserole but I have never gone out and specifically sought to use it. I wasn't even sure if it was actually a nut- it's not, it is a seed and safe for folks like me who are allergic to nuts (thanks FAAN). This was a relief, as I am really not ready to die for the sake of making delicious ice cream. So with the knowledge that I was not going to end up in the ER, I started thinking of the ways nutmeg is used. Unlike cinnamon which was featured last week and is at the heart of many recipes, nutmeg is rarely used by itself. Nutmeg is like a little brother that tags along to play even though he is not big enough to hang with the big boys. But, if given the chance, could nutmeg stand by itself as an ice cream?

The recipe I chose is a custard base which I thought would add to the richness of the featured ingredient. Like a minor leaguer being called up to the bigs and splurging on a new pair of cleats, I too decided to get a little something to help the nutmeg perform at its best- a nutmeg grater. At $10, the Microplane graterwas a pretty good deal and can be used to grate any spices that I have whole in my drawer. So with some new cleats, I set out to give 'little brother' a chance to make a name for itself.

Ingredients
Nutritional Info*
Serving Size 1/2 cup
Servings 8
Calories 295
Fat 19g
 Sat Fat 12g
Carbs 23g
Sugar 22g
Protein 4g
  • 2 tsp. freshly grated nutmeg (1 - 2 kernels)
  • 2 cups half-and-half 
  • 1 whole nutmeg, cracked 
  • 3/4 cup sugar 
  • 6 egg yolks 
  • 1 cup heavy cream 

Modified from: Saveur

*Nutritional Info from:
Livestrong.com/myplate
Equipment
  • 3qt pot 
  • Saute pan 
  • Sieve/ mesh strainer 
  • Spice grater 
  • Measuring Cups 
  • Measuring Spoons 
  • Whisk

Toasting nutmeg will change its color
Toast grated nutmeg in a skillet over medium heat, 1–2 minutes. The nutmeg will change color from a light orange-ish brown to a pumpkin pie color. Remove pan from heat; set aside.
Heat half-and-half and cracked nutmeg in a 4-qt. saucepan until it just begins to simmer. Remove from heat; let steep for 10 minutes. In a bowl, whisk together sugar and yolks.
Whisk as you pour the cream into the eggs so the eggs don't cook
While whisking, slowly pour in half-and-half mixture. Return mixture to pan; cook, stirring, until mixture thickens, 8–10 minutes. You'll know its done when the it coats the back of a spoon as shown below.
Custard will coat the back of the spoon when ready
Pour through a fine strainer into a large bowl. Whisk in toasted nutmeg and cream; cover custard and chill. Freeze custard in an ice cream maker; transfer to an airtight container. Freeze until set before serving.

Conclusions
I really like the nutmeg ice cream but I don't see myself sitting down to enjoy a bowl of the ice cream as I would with say, mint chocolate chip. Its richness and overall flavor seems more appropriate for a Crème brûlée, alongside a pumpkin pie, a beer float, or perhaps a carrot cake. Stay tuned on Twitter for some trials with nutmeg ice cream in the days to come!


Saturday, October 29, 2011

Apple Cider Sorbet Take 1

Keeping with the fall theme from my last post, I chose to make my first sorbet, Apple Cider.  While this doesn't seem like a scary idea, I was rather skeptical as to how it would turn out. Thinking back, I had never seen apple sorbet on a menu and given the choice I'll usually go for ice cream over a sorbet any day of the week. Confounding my skepticism is the fact that I was using sorbet and sherbert interchangeably in my searches. I had forgotten that while similar, they are much different; sherbert contains dairy while sorbet does not. A good explanation of the differences can be found on eNotes. Once I got the differences between the two straightened out, I honed in on my search; trying to find something that could be prepared while I was cooking dinner.

Ingredients
Nutritional Info
Serving Size 1/2 cup
Servings 10
Calories 100
Fat 0g
 Sat Fat 0g
Carbs 25g
Sugar 25g
  • 6 cups apple cider
  • a 3-inch cinnamon stick
  • 1/2 cup sugar
Modified from Epicurious 

Equipment
  • 3qt pot
  • Fine mesh sieve or strainer
  • Whisk
  • Measuring cup
Optional
  • Large and medium bowl for ice bath

Instructions
In a large saucepan combine the cider, the cinnamon stick, the sugar, and a pinch of salt. Bring to a boil for 10+ minutes. Reduce to 4 cups. Note, the cider will start to bubble and foam a bit, so adjust heat accordingly.

Strain the mixture through a fine sieve into a bowl. This is an important step, that I learned first hand while making bourbon ice cream over the summer. While making the custard base, had walked away from the stove and the milk curdled a bit. At the time, I didn't have a strainer and poured the mixture into the ice cream machine unfiltered.  A few days later some friends were trying the ice cream and all asked, "what are the little frozen bits in the ice cream?!" Usually chunks are a good thing in ice cream (eg. cookie dough), but not chunks of cinnamon bark or curdled milk.

I put the bowl in an ice bath so that I could make the sorbet the same night.  After about 2 hours in the bath, the mixture was cold enough to be turned into sorbet. I left the sorbet mixture in the ice cream machine for about 25 minutes before transferring to containers.

Conclusions
To be honest, I was in such a rush to find a recipe and get the sorbet made that I settled on one that didn't require a lot of time or ingredients and I think the results showed. While I was happy with the result, I think there is plenty of room for improvement and will be making a second batch this weekend for comparison. Looking back on it now, I failed to consult my trustee Ben & Jerry's Homemade Ice Cream & Dessert Book which tends to include corn syrup in each recipe. This I imagine will give the sorbet a smoother texture and make it easier to scoop. Apple Cider Sorbet Take Two coming up this week.

Thursday, October 27, 2011

Inspiration from Keuka Lake

I've always thought it was rather strange that cinnamon came from the bark of a plant.  Who came across what scientists call Cinnamomum Verum and said, "man, I bet if you pull the bark off of that tree, dry it, and grind it into a fine powder, it would really kick this dish up a notch!"? Whomever did it, hats off to you. Not only did you find one of the most desired spices during the spice trading days of the 16th and 17th century, you enabled us mere mortals to have luxuries such as cinnamon buns, apple pie, and cinnamon ice cream!

My inspiration for cinnamon ice cream came from Seneca Farms in Penn Yan, NY, just a short 20 minute drive from my Alma mater Hobart College. This unassuming restaurant is just a few blocks off of Keuka Lake and is known for its fried chicken, home made fritters, impressive Coca-Cola bottle collection, and incredible selection of frozen custard. Each fall they make a pumpkin and cinnamon frozen custard swirl that was so big, it would take the entire 20 minute drive back just to eat it all.  While the ability of the, lets call them a custard barista, was impressive enough, the contrasting textures between the soft, smooth cinnamon and the firmer, rich taste of the pumpkin made this a cone worth savoring.

The first batch of cinnamon ice cream was made just a few weeks ago along with pumpkin in an effort to save myself a five and a half hour drive to the Finger Lakes for a cone. I dug around quite a bit online in a search of a recipe that I thought would match the taste and texture of the ice cream that I remembered so well.  After some digging, I went with a recipe that kept the ingredient list simple and was similar to those found in the Ben & Jerry's Homemade Ice Cream & Dessert Book.

INGREDIENTS
Large container of cinnamon from Costco ~$6
  • 1 cup white sugar
  • 2 cups heavy cream
  • 2 eggs, beaten
  • 3/4 cup half n' half
  • 1/4 cup (or a long splash) 2% milk
  • 1 teaspoon vanilla extract
  • 2 teaspoons ground cinnamon 
  1. In a saucepan over medium-low heat, stir together the sugar and heavy cream. When the mixture begins to simmer, remove from heat, and whisk half of the mixture into the eggs. Whisk quickly so that the eggs do not scramble. Pour the egg mixture back into the saucepan, and stir in the half n' half and milk. Continue cooking over medium-low heat, stirring constantly, until the mixture is thick enough to coat the back of a metal spoon. Remove from heat, and whisk in vanilla and cinnamon. 
  2. Pour mixture into bowl that has been placed in an ice bath. Once the mixture has stopped steaming, place in fridge for 2 hours.
  3. Pour cooled mixture into an ice cream maker, and freeze according to the manufacturer's instructions.  
Modified from AllRecipies.com


Two small scoops of cinnamon

After a few hours in the freezer and a couple of 'quality assurance' taste tests along the way, the ice cream firmed up and had a perfect frozen custard consistency. This means that it was easy to scoop with a tablespoon and like meringue, could be roughly formed into peaks (melting ones that is). Even after a night in the freezer, it did not become overly hard like store-bought varieties tend to do. As for the taste, it was not overpowering but just right, like a homemade snickerdoodle cookie.

Monday morning, I found myself reaching into the freezer for a quick spoonful before heading into work; an amuse-bouche for the day if you will. I think every day needs to start out that way...


Tuesday, October 25, 2011

Welcome!

Welcome to The Prodigious Pint!  I guess this is a good place to say a bunch of cliche things about the goals of the blog, how it will be the most fantastic thing ever, change the world of ice cream, etc.  Alright, well good thing that is out of the way!

I've created this blog to share my ice cream making experiences and favorite recipes.  About six months ago, I received an ice cream machine for my birthday and have been making ice cream, pint by pint, quart by quart ever since.  Recipes have been everything from basic chocolate to a Guinness Draught Chocolate Chip.  I even went so far as to take what some called a sacrilegious step, by making a Guinness Ice Cream Beer Float- it was delicious!  Unfortunately, not all flavors turn out to be the best ever, eg Blueberry Muffin, but by and large they turn out decently.  I hope to share insights into different techniques, ingredients, and flavor combinations as I learn.

Over the next year, it is my goal to try out a new flavor each week.  While I would love to eat all of the ice cream, I'd rather not end up looking like Boba Fett correction Jabba the Hutt.  To assist me along the way will be a trusted team of taste testers at the office who never balk at the words 'free ice cream'.


Finally, two hat tips to be given out.  First one to Deana who gave me the machine and a second to Dave who suggested that I blog about my ice cream making- thanks to both of you!